An example on how to remove sharp visible seams between texture bitmaps, to make the texture tileable.
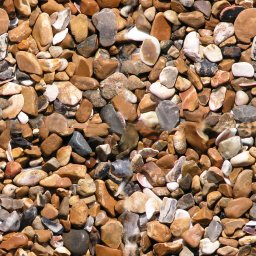
Here's a photo of some pebbles resized to 256x256 pixels to be used as a texture in Catching Features:
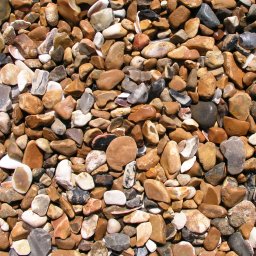
The problem is that this picture doesn't tile well. When the texture is used as a part of a pattern, sharp edges are shown between each picture.
Here's how to remove the seams, using The GIMP. The GIMP is a free, open-source image editing program (available at http://www.gimp.org/)
1. Load the picture in The GIMP
2. Select Layer/Transform/Offset...
3. Push the Offset by x/2, y/2 button, and press OK. Make sure Wrap around is used.
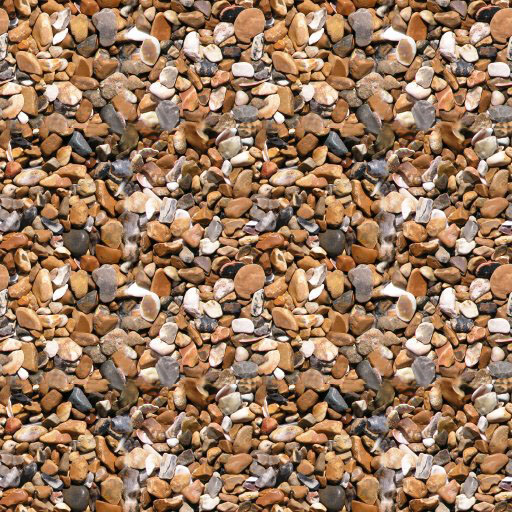
4. The seams are now clearly visible on screen and you can start to clone them away.
5. Select the Paint using Patterns or Image Regions tool
6. Select a fuzzy brush. The best size of the brush is dependent on how your image look. You might need to experiment here, using different brushes.
7. Start to clone by holding down the Ctrl key and click at a source spot close to the seam you want to clone. Then click on the seam to remove the seam at that spot. Select a new clone spot holding down Ctrl, click on the seam to clone... Continue like that until all seams are gone. This step might require some practice.
8. After a quick edit, here's the end result. The seams are gone.
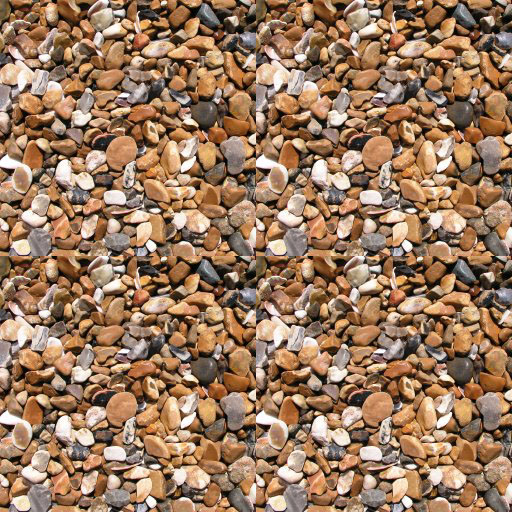
9. When tiled, the edited texture will look like this. No sharp seams: